This Spring I partnered with Lowes Canada when I planted annuals for my white-on-white garden that I installed 3 years ago. See the post I wrote for them here.
Here are 3 lessons I learned along the way:
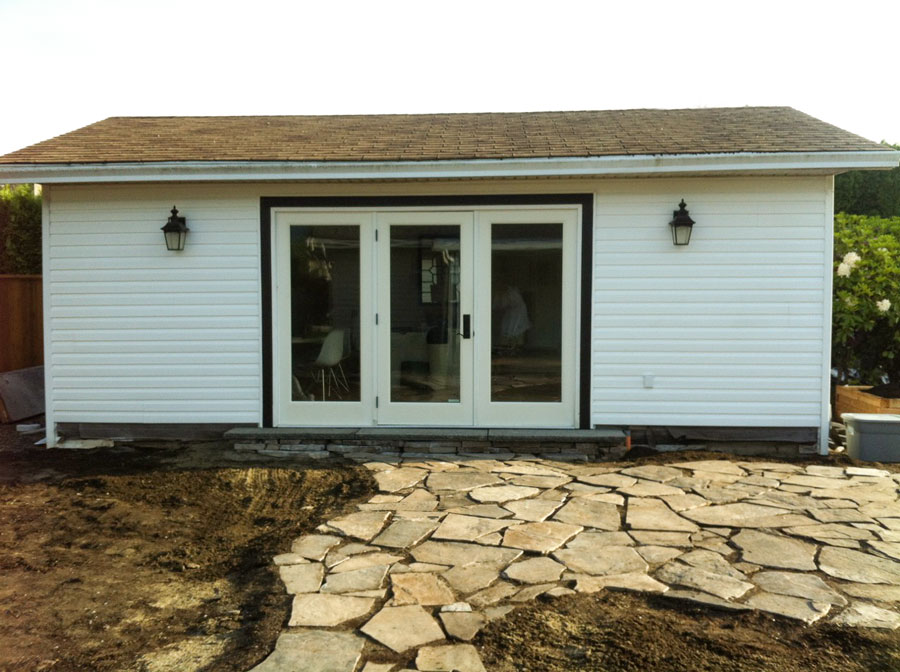
Before the garden was installed. Go here to learn how to choose the right flagstone colour.
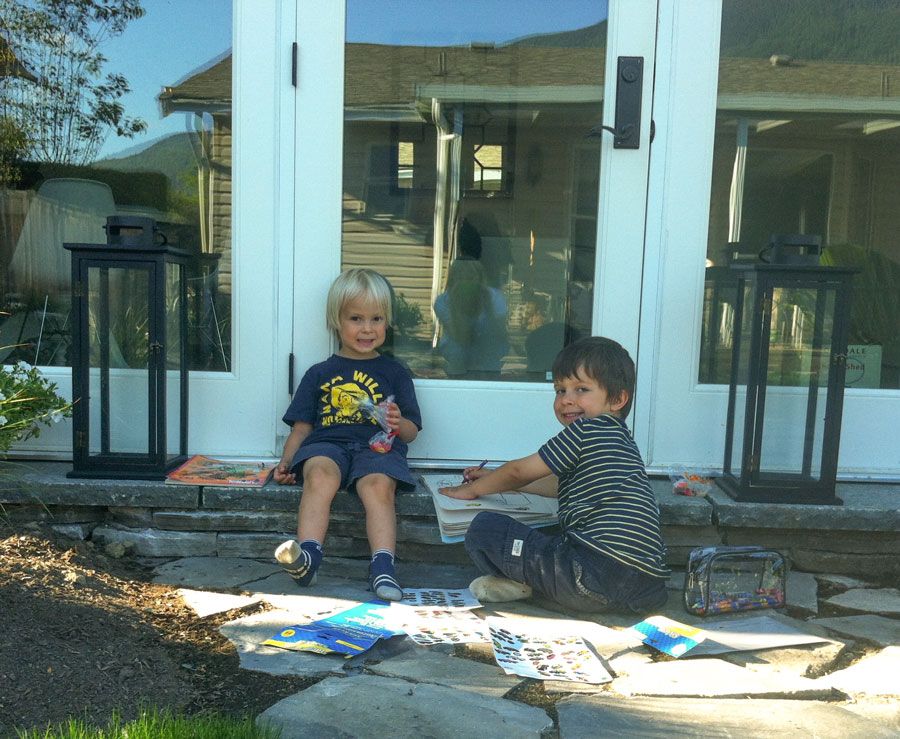 When the stone steps were first installed in front of my studio, my nephews liked to play there.
Here you can see the cheap lanterns I purchased that lasted one season sitting outside in the rain.

The new ones don’t move in the wind and can handle the constant rain we get where we live.
I did the same thing with the adirondack chairs around my fire pit. They also lasted one season. The new white ones have a 40 year warranty.
Lesson #1: Buy the Best and You’ll Only Cry Once

Then I needed a bench for this spot in my front yard beside the decorative fence (not installed in this picture). After debating how long it should be, I decided it should be at least 5 or 6 feet because I had the space for it, so that’s what I ordered.
I knew the moment I assembled it that I hated it.

I sent MaryAnne a picture and she agreed. The eye went straight to this ginormous bench in my front yard and distracted from everything else.
So back it went.
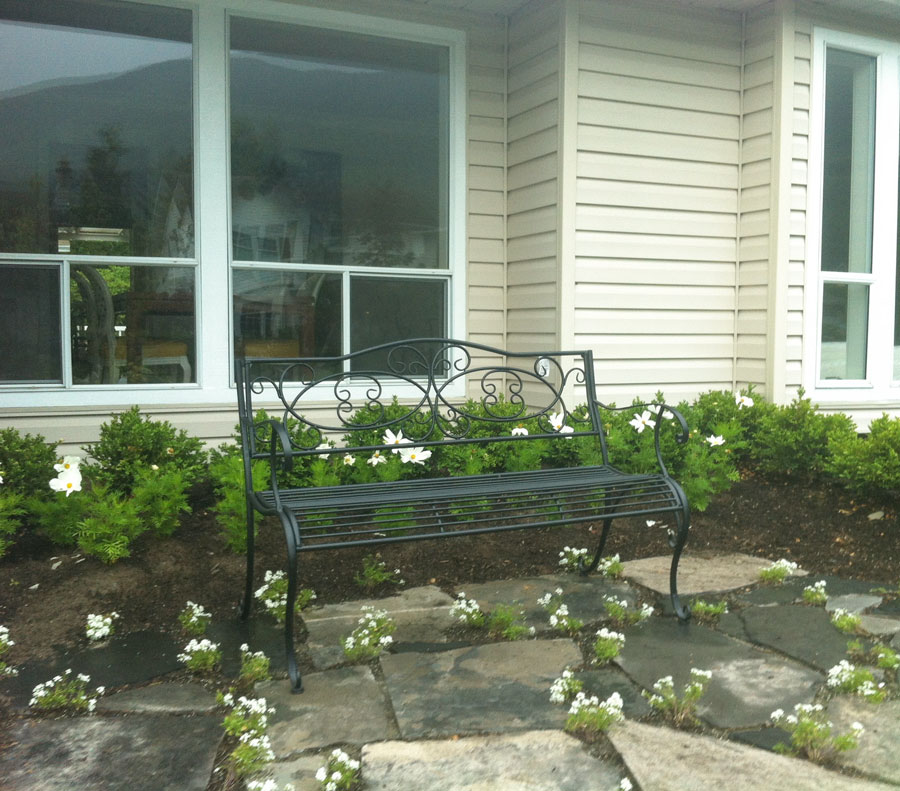
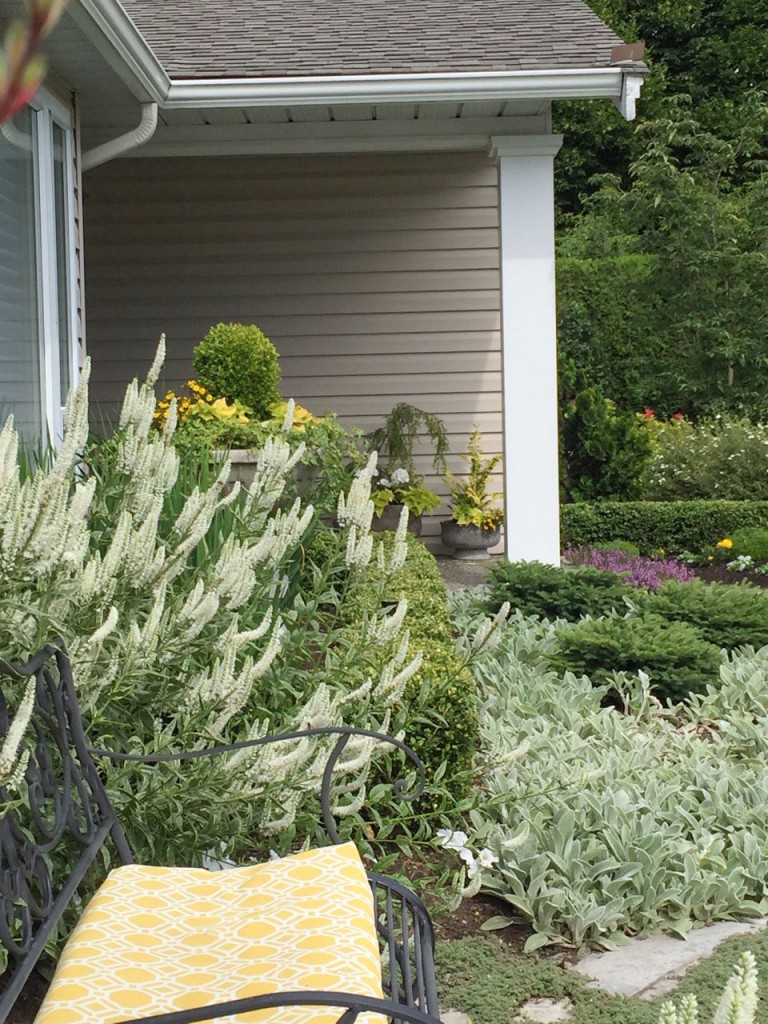
Then I found this one which was NOT expensive, but I wasn’t sure what would look good at this point so I brought it home. Two people can barely sit on it because it’s not that sturdy but it’s more decorative than anything else anyway.

This one virtually blended into the landscape which I liked much better.
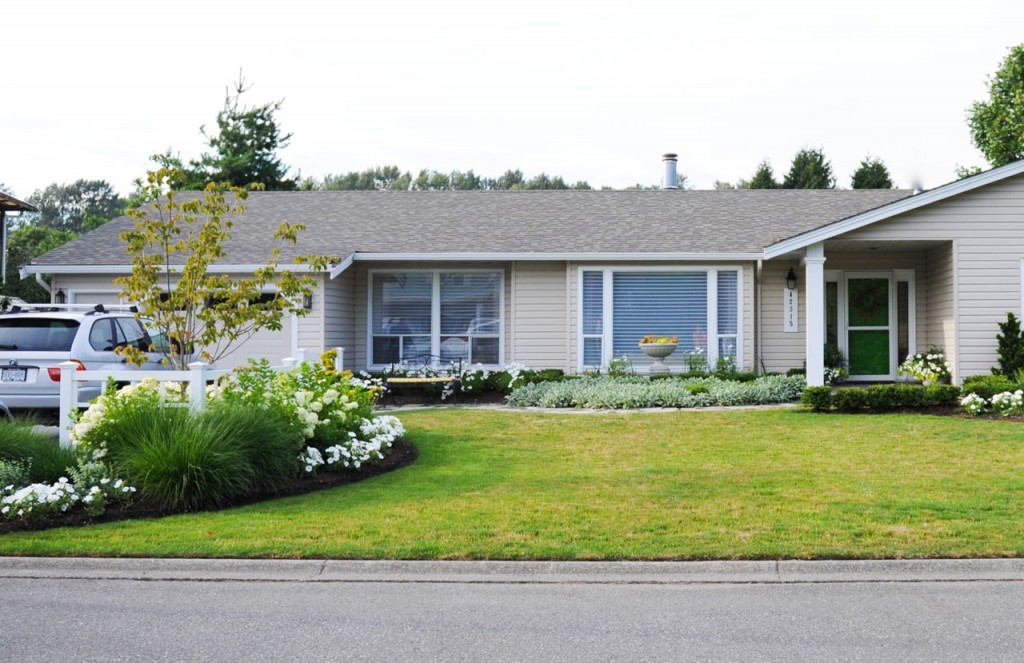
This was our garden, one year later (Photo by Tracey Ayton) It took our grass a little while to grow in, that’s another story.
Lesson #2: Not everything has to yell “look at me, look at me”.
Because we had so much concrete in addition to a second gravel driveway for an RV in our front yard, we simply demolished the entire front and back yard that year.
That left us with the deck, which wasn’t that old but it was so ugly (below). And replacing the deck with the roof that is much needed in the summer was not in the budget.

I asked our contractor if he could at least replace the skinny white posts with thicker columns but he said our deck could not support them.
So, when all else fails, decorate.
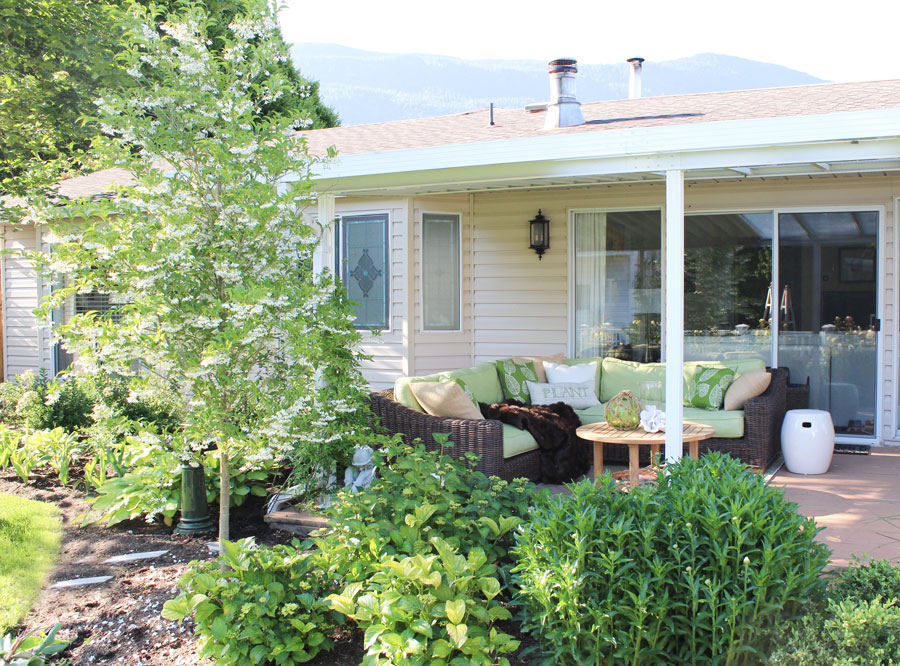
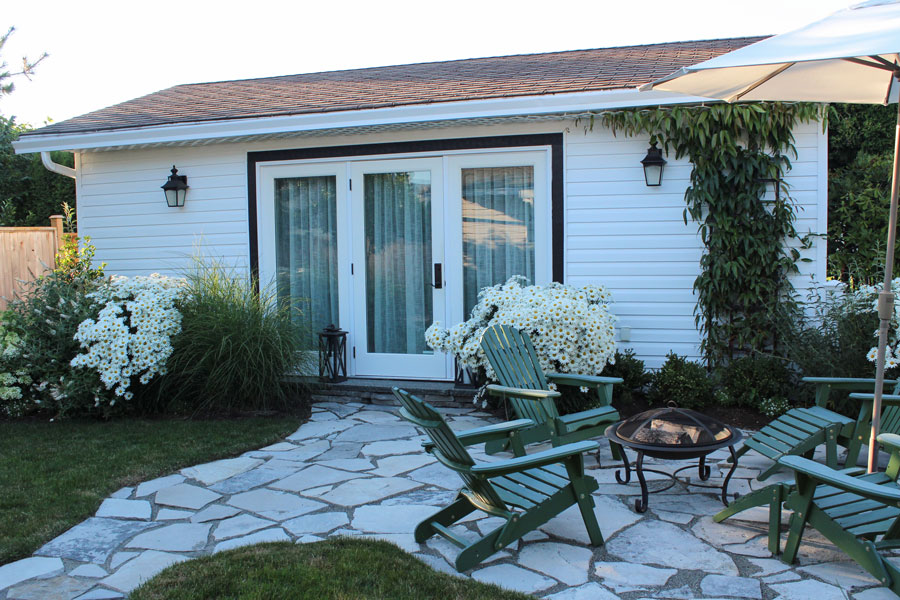
After
The new landscaping certainly worked miracles as well as new furniture.
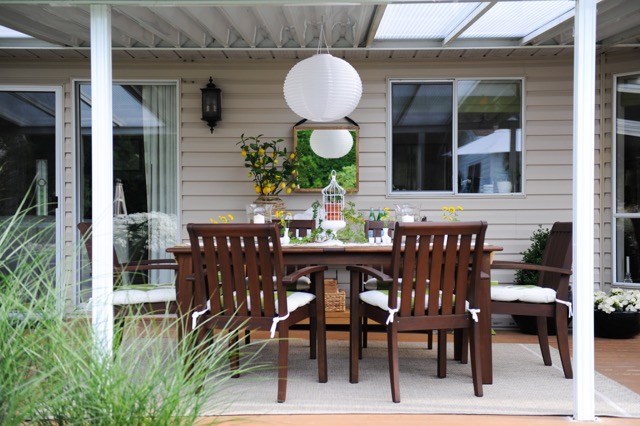
Lesson #3: If you can’t do anything with the structure itself, distract the eye with decor. I have done this many times when decorating.
When I talk about our ugly deck now, my guests look startled, like they missed something.
And that’s the response I like ; )
This Spring I partnered with Lowes Canada when I planted annuals for my white-on-white garden, see the post I wrote for them here.
You can follow Lowe’s on Twitter, Facebook, Instagram YouTube and Pinterest.
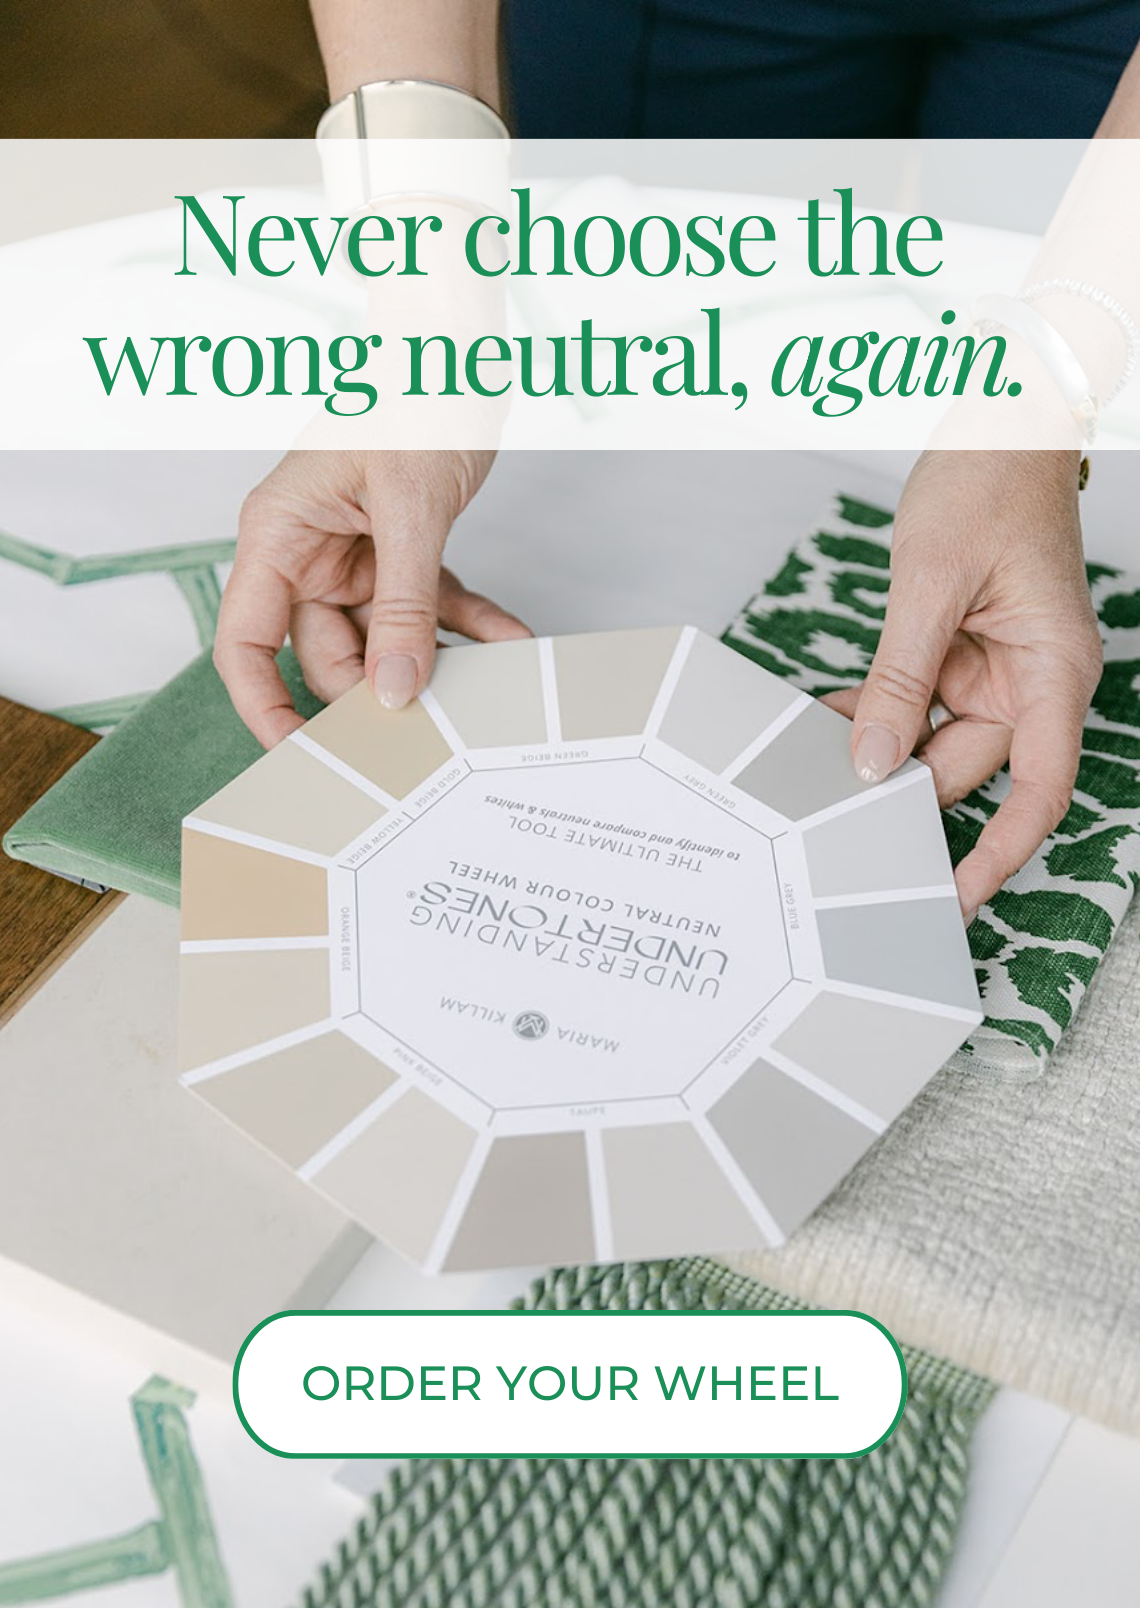
Become a True Colour Expert this Fall. Register here.
If you would like help creating a beautiful and classic exterior, we have exterior consultation packages available here.
Related posts:
First Rule of Design: Boring Now Equals Classic Later (a lesson on outdoor classic design)
The Two Kings of Muck Mountain on Elizabeth Avenue (the demolition of our yard)


You don’t have to replace deck posts, you just beef them up. I’m surprised your contractor didn’t suggest or know this.
Yes but I also wanted to even them out because there are basically two different sets of roofs on this deck, beefing them up where they were would enhance and draw attention to the uneven placement so I was stuck with them 🙁
Like your ‘disappearing’ bench in the front, could the posts be painted black?
Beautiful hydrangeas!
Every time I see your landscaping I want to work on my yard. Your team did a beautiful job.
“Buy the best and you’ll only cry once”! I love it! Now, unfortunately, I live it every day during our new build. UGH! I’m whining a lot.
Last week you wrote about folding clothes and I started with underwear and socks – laundry day became easier.
I extended the idea while gardening – I have been pulling out perennials that I just did not love and feel joy when I gazed on them – the garden better and has become more cohesive. Thanks for the inspiration.
I love this comment!! You’ve given me courage to edit my own garden. Instead of planting more to hide what I don’t like, maybe it’s time to just remove, and grow more of what I do like!!
Love Maria’s yard – it certainly shows that she is a self disciplined woman. My back beds began as a white garden… but now I see pink… and yellow… and…
It’s one thing to have someone tell you what to plant & where top plant it. But you have to maintain it now. Either you and/or Teeria must have a green thumb because your landscape is certainly flourishing. It must be a lot of work. But it looks spectacular.
Also the flashback pictures of your nephews was jarring. I can’t believe how much they’ve grown since then.
Your house and garden looks so inviting now, Maria. I must say that the curved garden beds at the front look just lovely. What a difference it makes when it’s designed by a professional. You must be so happy living in your dream home.
Lovely space – do you remember what size your RH lanterns are?
Had to laugh when you said when all else fails decorate! This reminds me of my job in home staging. As you said sometimes you thing something will look great in a spot and once it is there it isn’t right, I am always rearranging till it works out…
Love the garden, it all looks so inviting! I enjoy reading your posts and your process in how you create.
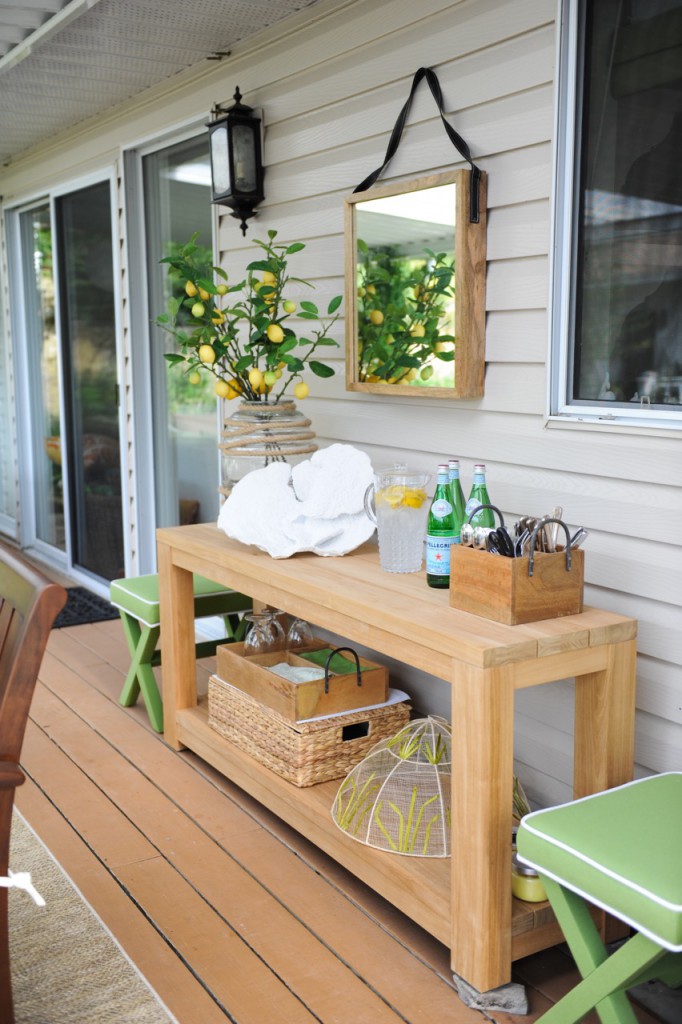
Mirrors…luv them with outdoor plantings…great reflections!! franki
Your garden sings! I have 4 separate areas around the house that are gardens that require attending to. I like the symmetry of your garden, the peaceful essence created by the choice of plants. Good job !!!
Hi Maria! Garden looking just great….wondering about the small tree planted front left of deck. Is it a white blooming Stewartia? Looks like it. Love all the different white hydrangeas too. Betsy
Your lessons made me laugh. The 3 lessons are elementary and easy to overlook. Thanks for listing the lessons. I needed the reminder. Well done!
Your gardens and your deck a truly delightful Maria.
I love your landscape! Very beautiful! Great pictures!
A suggestion, spray everything with Rustoleum Neverwet and everything will last longer. Spray very well in the joints, underneath, etc. etc.
It’s better than Scotchguard. Lowe’s should have this. I loved the teak bench and it could have been a showstopper with proper decor around it Or stain it and then use Neverwet!!!! The metal bench appears to be the quiet child in the room who is afraid to talk.
Your gardens look wonderful and soothing.